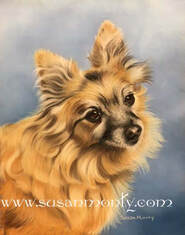
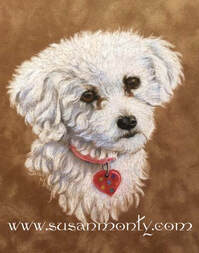
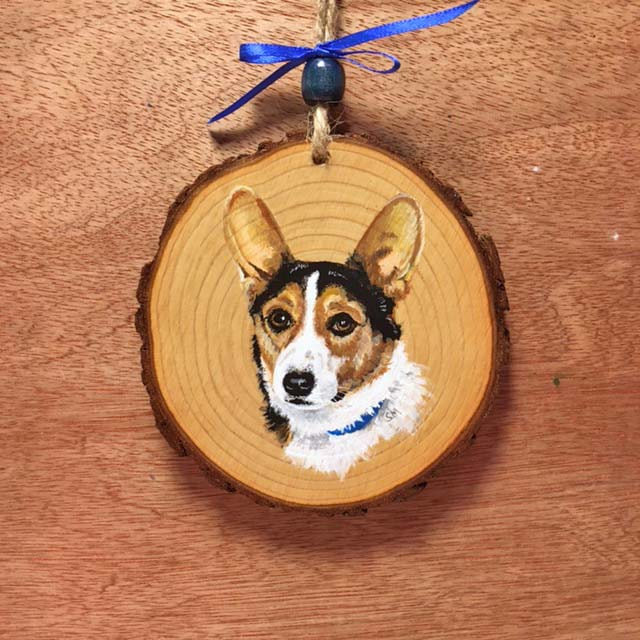
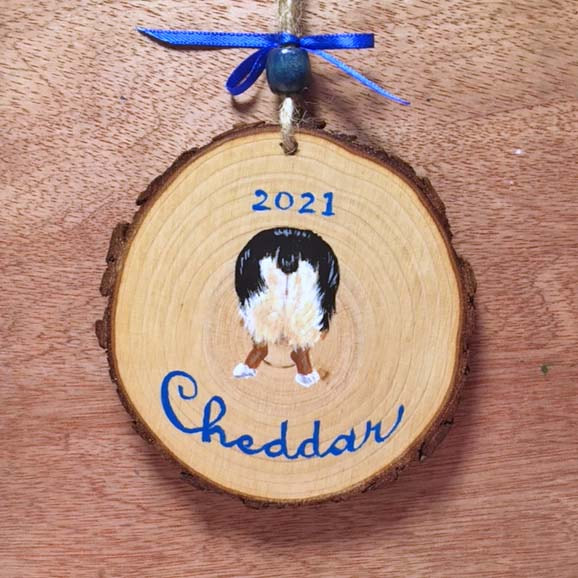
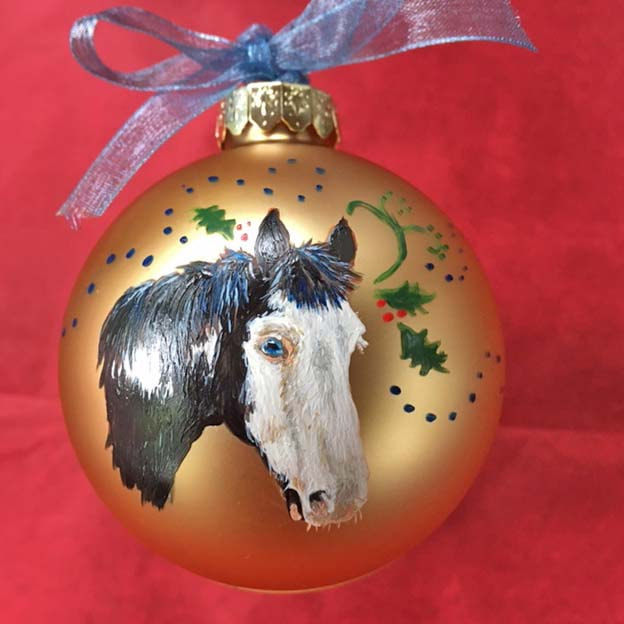
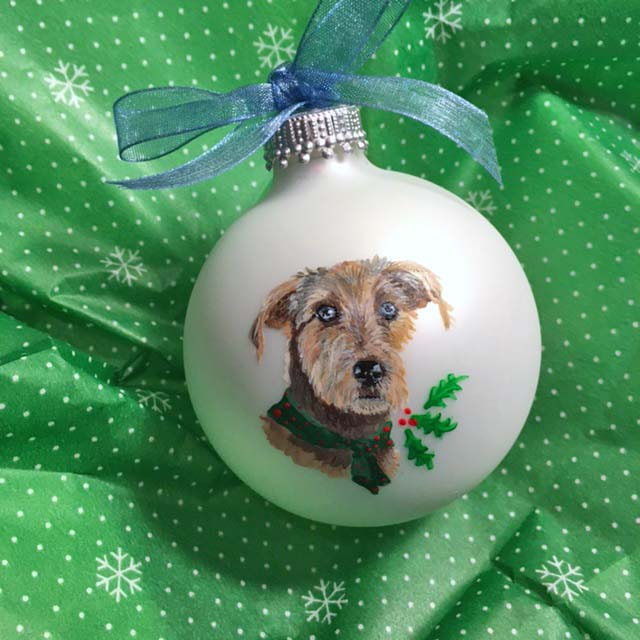
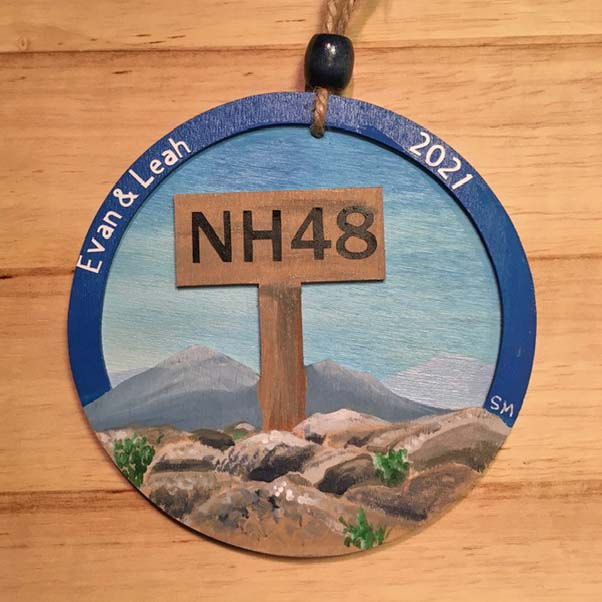
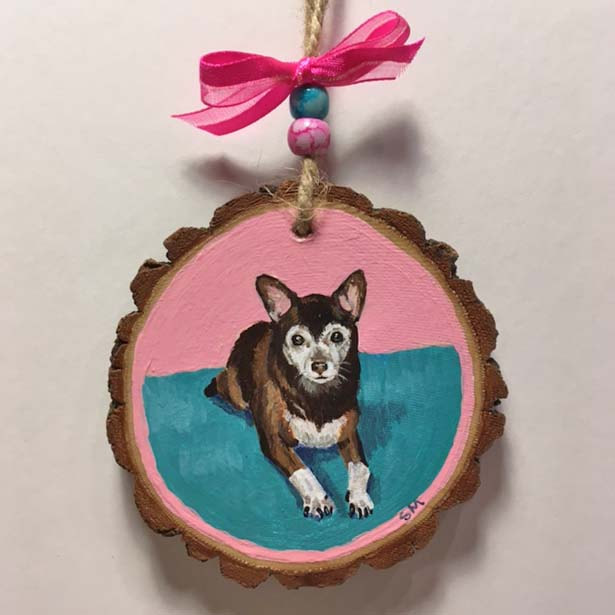
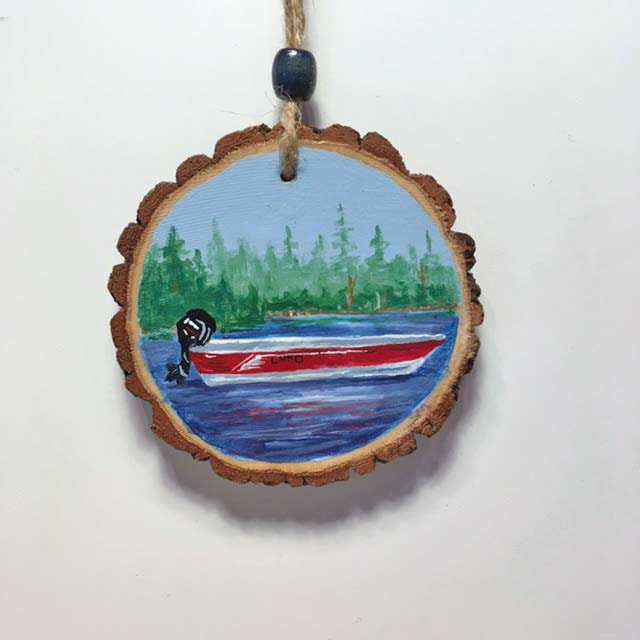
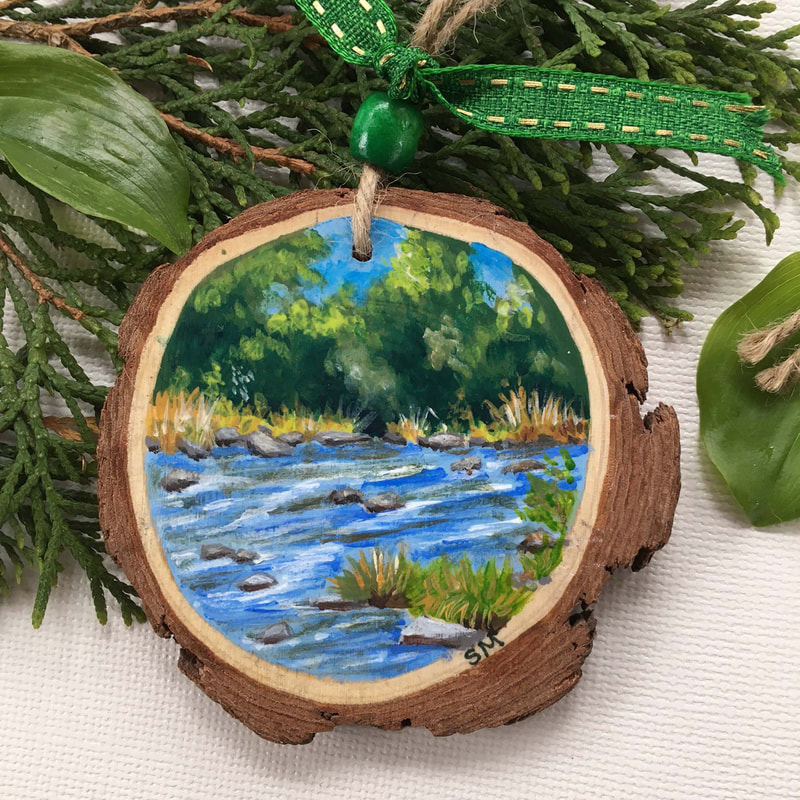
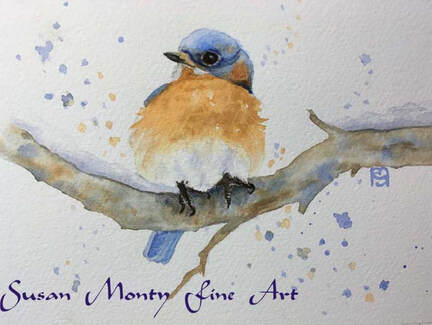
I can't belive it's been a year sinceI posted here. I've been concentrating on working in watercolor and pastel for most of that time. I've done some portraits and the autumn found me doing ornaments again. My favorite work has been painting birds and wildlife, as well as continuing my nature journal.
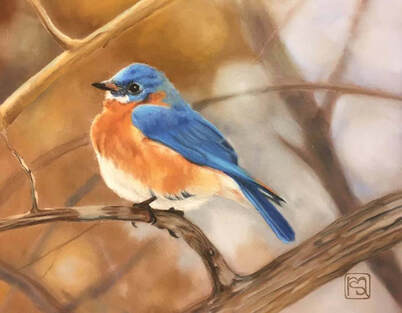
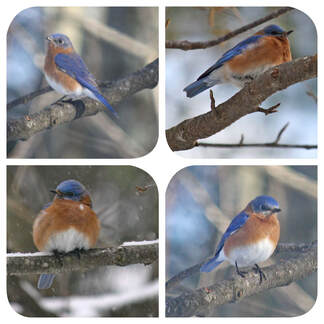
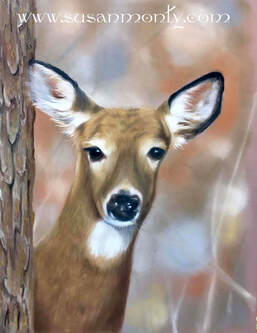 I've been lucky enough to have multiple magical encounters with deer and owls in my yard giving me lots of oportunity for reference photos. Although the photos are pretty good, I think a lens upgrade is in my near future! Pastel - pan pastels, sticks, and pastel pencils - are fast becoming my favorite medium for animals and birds. |  |
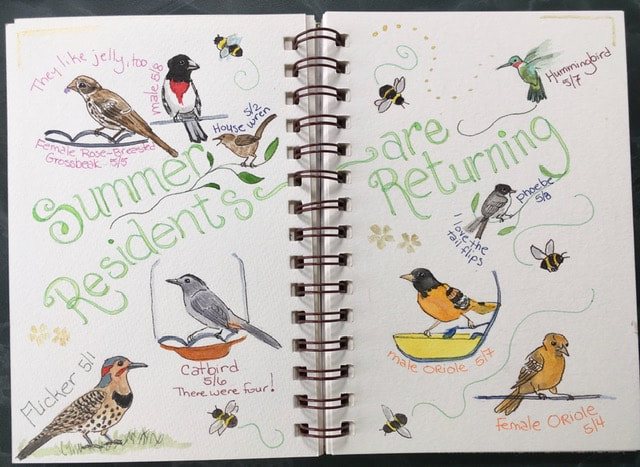
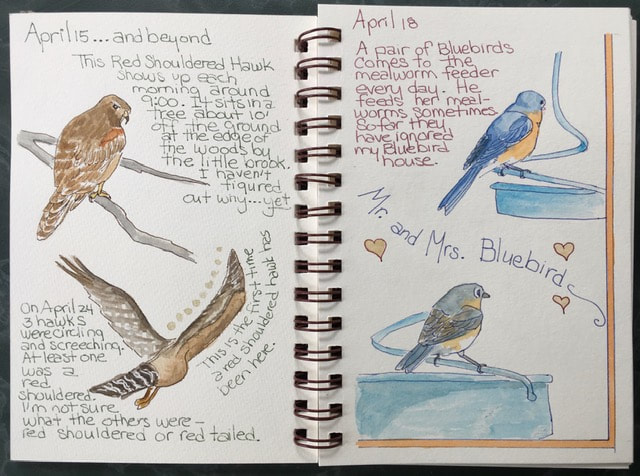
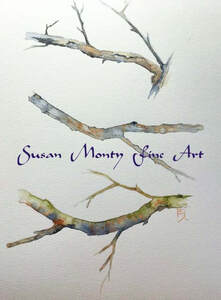
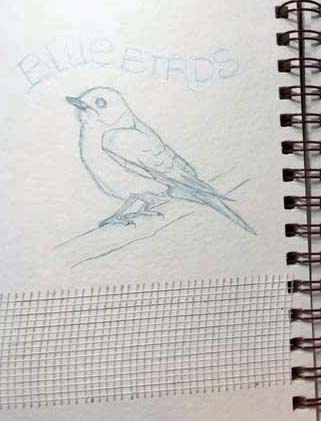
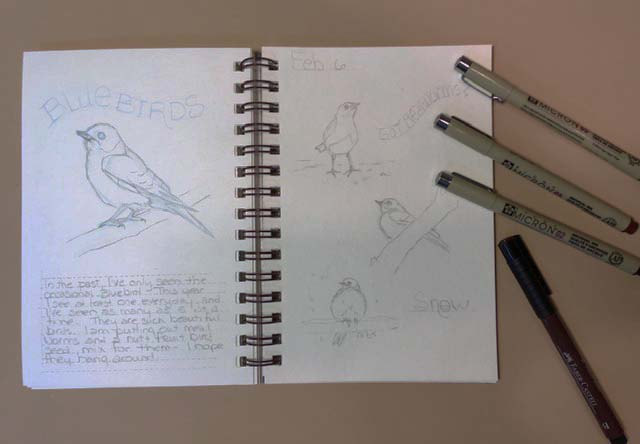
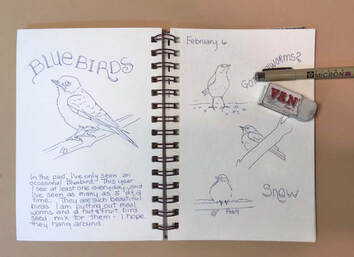
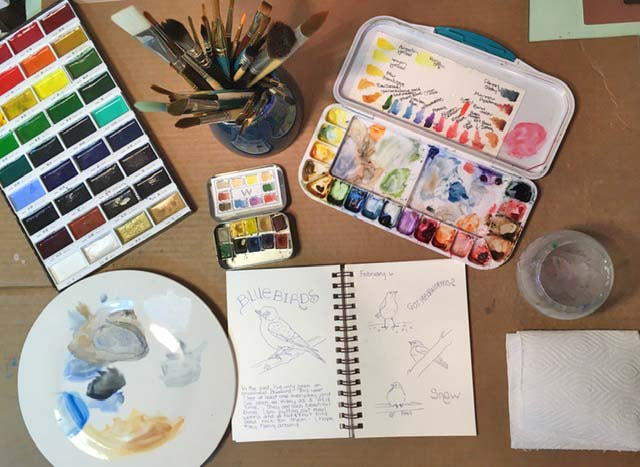
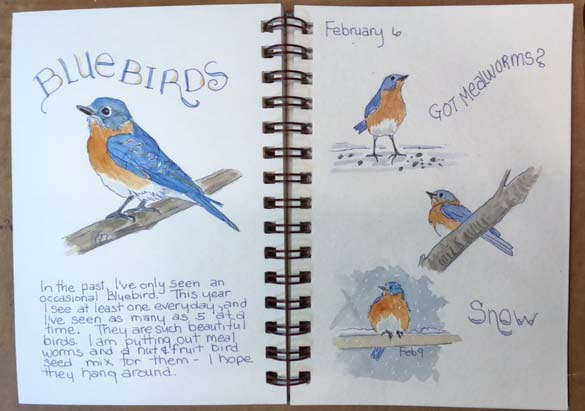
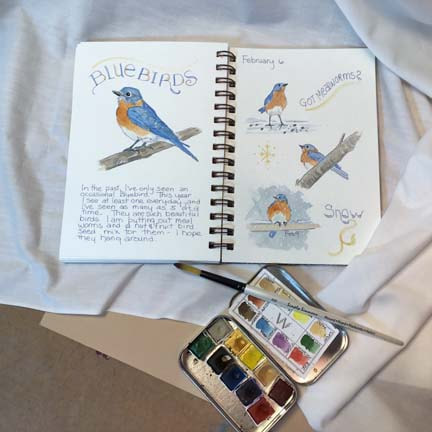
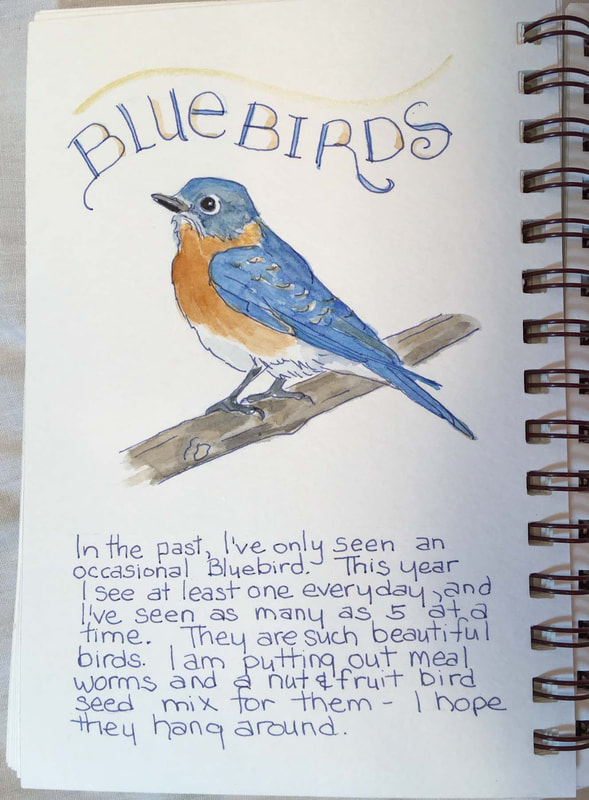
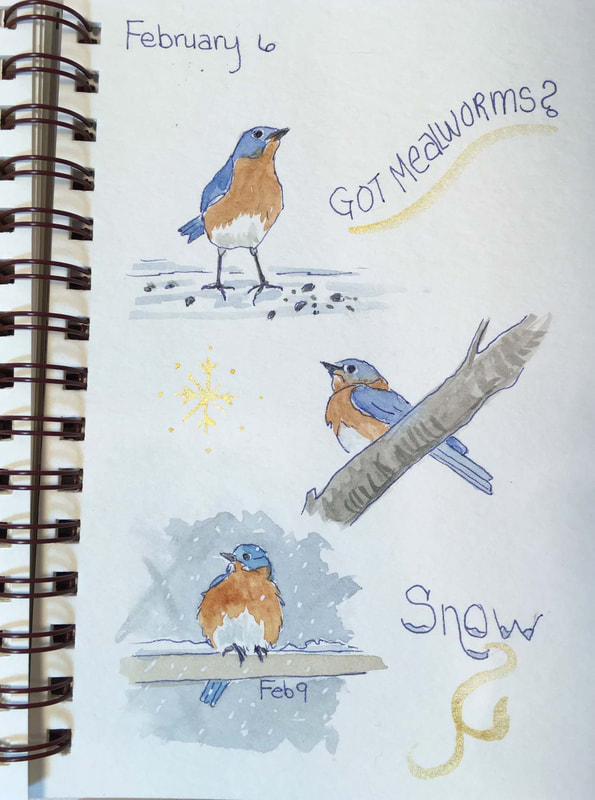
During the spring summer I fall I still spend time working on my nature journal. I love recording all the visitors to my backyard. I use pen and ink with watercolor washes to capture all the interesting happenings. I love going through my older journals to halp me remember the antics of my backyard vistors.


 RSS Feed
